DIY Dip Nails
Hey everyone! I finally tried doing dip powder myself and was amazed by how easy it can be! I have very weak nails that love to break and peel. Therefore I always have them painted to protect them. However, between all the cleaning I do and working in the hospital I could not find ANY polish that would last more than 3 days...
I had been flirting with the idea of dip powder for a while but could not bring myself to pay salon prices. That's when I decided to buy a kit of Amazon and here we are!!!
Here is my video: https://youtu.be/T3MIaTyl9w0
I used the dip kit by Azure Beauty because it was "Amazon's Choice" and had great reviews. I highly recommend it!
Here is the link: Azure Dip Powder Nail Kit
Prep Your Nails
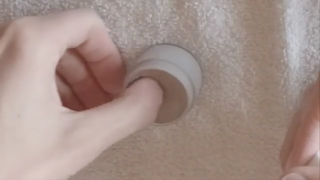
This is very important! You must push back your cuticles so they are out of the way and no powder adheres to them! Also, buff your nails so the shine comes off, this makes your nails a perfect surface for the powder to adhere to.
Apply First Layer Dip
Stir the dip powder to loosen it up, this will ensure an even spread onto your nails.
Start with a very thin layer of the #1 Base covering only 75% of your nail. This means do not go all the way to the cuticle line. Staggering the base coat will help curve the dip powder over your nail for a nice shape and no blunt edges.
It is also important to ensure that the base coat is only on your nail and not your cuticle or skin. Remember, wherever the base coat is, the powder will stick. If you accidentally get the base coat on your skin just wipe it off before dipping your nail.
Immediately after painting one nail, dip it at a 45 degree angle into the powder. Tap off any extra powder from your finger.
Repeat on the other 4 fingers on your first hand. (I fully complete one hand before starting on the other).
Use a brush to brush off any remaining powder on your fingers/ nails.
Apply Second Layer Dip
Repeat the same steps as the first layer. However, apply the base coat on 100% of the nail from the cuticle line to the tip of the nail.
Apply Third Layer Dip
Same as above, apply the base coat to the entire nail before immediately dipping it into the powder.
Apply Activator
This is my favorite part! Brush on the #2 Activator over your entire nail and allow to dry for 60 seconds. This is the agent which cures the powder and makes it harden.
Buff/ Shape nails
You can either use a hand buffer or e-file to do this. Pay special attention to the area around the cuticles and the sides of the nails. You want these areas to be nice and even. This will help your manicure last longer. Also buff the surface of the nail to make sure it is even and not bumpy.
Apply Activator Again
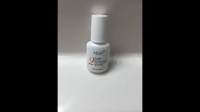
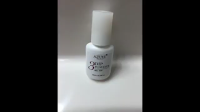
After buffing my nails I like to apply another layer of the #2 Activator. This is the curing agent for not just the #1 Base but also the #3 Gel Top Coat. I have noticed that if I do not have enough activator on my nails before applying the #3 Gel Top Coat, my nail does not dry or gets a white discoloration.
Apply Gel Top Coat
Apply a single thin layer to your entire nail. It is important to do this very fast.
Apply Second Layer Gel Top Coat
Apply a second layer. It is still important to do a fast thin layer. However, you can go a bit slower than the first coat to ensure you cover the whole nail if you need. Allow this to dry for 60 seconds.
Then You Are Done!!
My first DIY dip manicure lasted 3 weeks! I only removed it so that I could shoot this video 😊 I hope this helps y'all, and happy dipping!!!
Associate disclosure: As an Amazon Associate I earn commission from qualifying purchases made using links I post.


Comments
Post a Comment